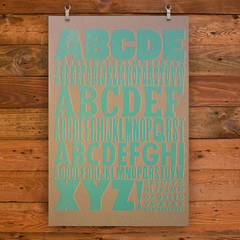
After the bedroom swap last week, our highest priority was hanging window treatments - do it yourself roman shades, in this case - in Annie's new room. The fabric I bought to make them was more impulse than anything. My first mistake was not taking a swatch home for good measure. My second mistake was only ever looking at the fabric folded around the bolt. I should have unwrapped a few feet and held it to a window where I would have realized just how sheer it was. But, alas, John and Annie were in the car, impatient to go home and I felt rushed.
**I'll give you a vague rundown of how I made them, but you can find the original tutorial here.**
First, I bought two four dollar sets of mini-blinds from Home Depot to fit over the glass part of our window. (In retrospect, I wish they were wide enough to cover the window trim, too.)
I pulled the cord to let them fall to its longest length and laid them on the ground. I cut all the cords that keep each cross strip in place BUT I DID NOT CUT THE TWO PULL CORDS ON EITHER SIDE.
There are little plugs on the very bottom panel that you can remove to detach the pull cords from this stiffer panel. I did that and then removed everything except for the top six panels. Then, I put that bottom panel back on, retied the knot and put the plugs back. I gave 80 of the extra strips to my daughter for playtime. Say what? Choking hazard? Well, it's been a week and she's still breathing, so I think we're good.
I ironed the curtain fabric in our lovely, orderly, immaculate apartment that makes John crazy every time he walks in and steps on a stapler or a lego or a dog.
I put the pressed fabric face down on the floor and laid the blinds on top. That's when I started glueing the two together with Tacky Glue. I think I glued each strip 9 inches apart. Before this I did fold and iron the perimeter of the fabric 2 inches in all the way around. Once the strips were glued across, I glued the perimeter fabric seam as well.
And that, my friends, is the extent of it. Pretty stupid simple. You use the hardware that comes in the box to hang them as usual.
(See in the picture below how the shades only cover the window, and not those two inch wood panels that frame the window in? That's why I wish I'd bought wider blinds)
But for the real kicker. The point was NOT to prevent peeking Toms. It was to make the room dark and sleep worthy! And that was NOT accomplished. In fact, now the room is a little trippy given that there is a green cast on everything. I wish I had either ironed interfacing on the back of the fabric before glueing it to the shades, OR that I had used a heavy upholstery fabric. I could easily rip the fabric off and replace it, but I hate to spend more money on fabric right now. These will have to do. I left up our old linen drapery panels to serve double duty. The added coverage is minimal, but we'll take what we can get.
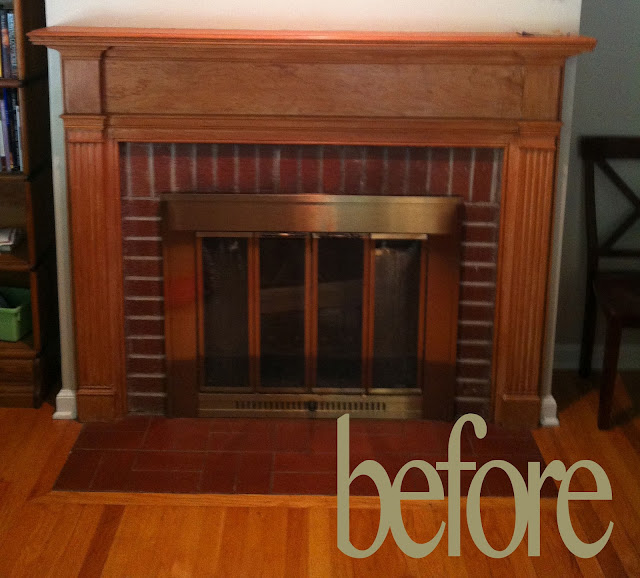
Stop reading if you love brick, because you might gasp when I tell you it's the last red brick remaining in the apartment and it's getting painted this week. Whoops. I know, some people love brick. And I did, too. That's why I bought this place. But it's been five years and I'm real bad tired of it. There are five other units in this building (nearly identical) that are for sale right now with loads of brick if that's your thing. So take your pick.
Along with the brick, the trim and ceiling will get painted. I'm thinking of going dark...grey. All over, all the way. Except for the ceiling. Grey. That's my jam right now. Yes, I said that.
And there you go. A little rewind for you? Here are my big regrets with this project:
1. Didn't head over heels love the fabric pattern/color.
2. It was way too sheer - should have sewn in interfacing or black out fabric.
3. Should have bought wider blinds.
4. Should have been more precise with ironing my seams.


