
Here's Annie enjoying her first snack after the white tile was finished and before I'd begun the Saltillo.

That's my girl. She puts her whole hand, fingers and all, in her mouth when she feeds herself. I love it.

1. The cabinet fronts were made of MDF board so that the paint would lay really smooth. Don't neglect to sand MDF! I did, and my oil-based primer picked up any particles and rolled them together into bigger globs. I'd planned to sand between coats of paint but having not sanded initially was resulting in what looked like crumbs. So, sand first, and in between! Then, use a TACK CLOTH to remove all the dust. Tack cloths are tacky. No, fo reals. They pick up all the loose particles.
2. Though I doubt anyone will ever run into this problem, I'll lay it out there anyway. When you're down to the last ten tiles to put up on a wall and you're down to the last few cups of thinset powder to wetten into a paste, POUR THE WATER SLOWLY or else you'll find yourself at 1 in the morning with thinset that's too runny to adhere to your tiles. And you'll be like oh man, this is not okay because I need to finish TONIGHT so I can grout TOMORROW (mortar has to set 24hrs before grouting). And you'll be so desperate that you'll go down to the basement in the middle of the night and use your flashlight to look in every corner of the building's storage unit to see if anyone threw some leftover thinset there. And they won't have. And so you'll go back upstairs and open your kitchen cupboard and use flour to thicken the mix. Wait, what?? You heard. Except that I came to my senses after the first pinch and blew the whole thing off. Cut my losses and went to bed.

And what do you know, hardware stores open late on Sunday, so adding too much water to your thinset is gravely unfortunate. Don't do it, kids. And don't do drugs.
3. ALWAYS tile from the ground up. Duh, right? But when I was tiling the ledge with the mexican tile I was most concerned about the way it laid out on the countertop, where it'd be most visible. So, that's where I started. And in my defense, when I started tiling ON the countertop, gravity was on my side. I just didn't consider that it wouldn't be on my side at the edge. So I had to support the tiles in all sorts of weird ways so they wouldn't slide down before I could put another tile beneath or before the mortar set. It was odd and I didn't have enough hands to do that trick, let alone take a picture. So imagine something bizarre. Involving thick books, chairs and a broomstick. I also didn't order enough materials and only had that broken tile you see on the counter to spare. Thus all the Saltillo slivers I had to use to make ends meet.

4. Protect. Protect. PROTECT your other finished projects. I had to do major paint touch up after my very unorthodox ways.

Those, for whatever its worth, are a few of my 'I wish I had known' tips.
So along the way it looked a little something like this:

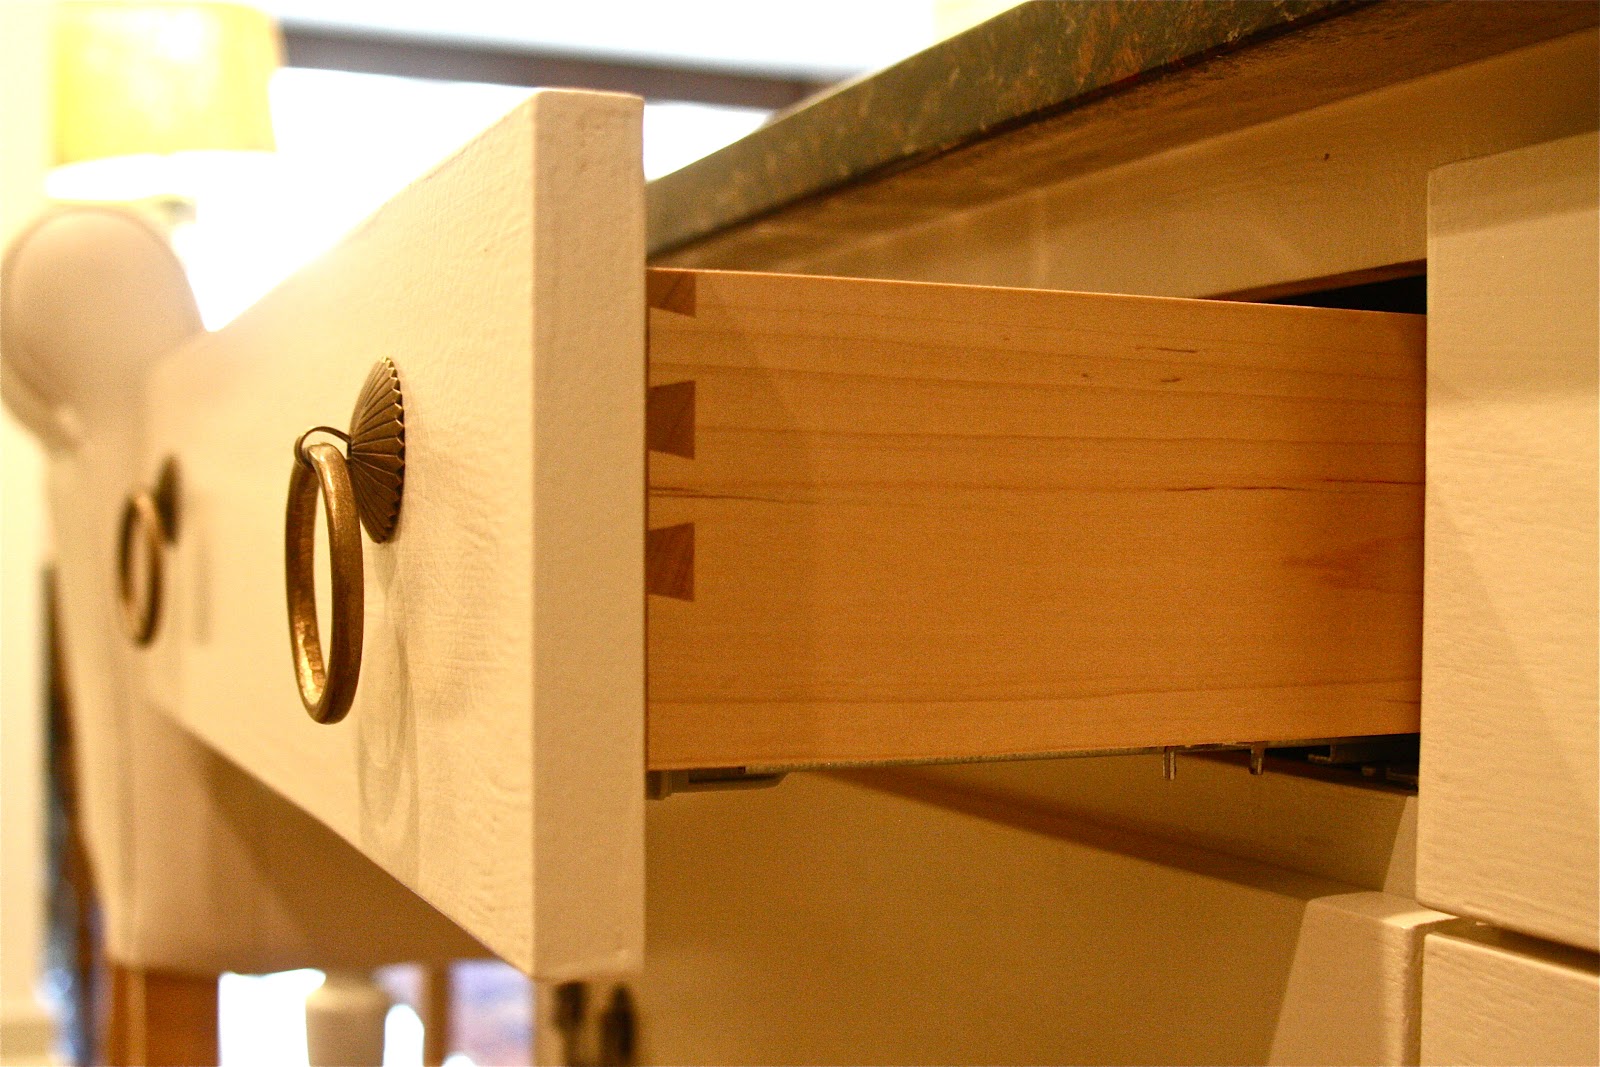
And then my drawer pulls from Chinese Brass Hardware came in the mail. At first glance, I about croaked. It looked like the attachment hardware wasn't included and I didn't have a clue where to find screws to fit and match. But the Chinese are funny like that. There were funny looking pins included and after a little internet research I realized that was all I needed. Sadly, one bag did come without them and I had to wait several weeks for the company to correct the mistake.

But with no further ado, here is where we are now and where we will probably be for a good chunk of time. I still have some scraping and caulking and grout cleaning to do. But with no sink or water on the workspace, none of that is of paramount importance - simply aesthetic. Although finding a light to hang is urgent! I sold the track lighting on craigslist last month.
One last time, here's BEFORE -

And here's the almost AFTER -

View from living room (I have yet to finish painting the trim in the kitchen or the walls above the cabinets in the same BM White Dove)

And still have major grout cleaning and caulking to do on the Saltillo tile...

The kick board under the knee space still has blue tape and has yet to get it's final coat of paint :(

Anything nice you see on the shelves or counter came from someone even nicer over the years or at our wedding. So, thank you cousin Laura for the hanging spoon rack and Karen Bailey for the mixer!


And there it is. Almost, but not yet. A couple things I'll mention about how I'm feeling. I originally thought this would be a time for me to explore design uninhibited working with an entirely blank wall. I was thrilled to get to start from scratch. Quickly, though I realized I was very much inhibited after all. For example, the granite is by no means my ideal color. Far from it. In fact, I have to convince myself to like it whenever I see it. But, it was the existing granite on the other side of the kitchen and we couldn't afford to replace it. I played around with the thought of a different material on this new workspace, but the room is so small, it seemed necessary to keep it unified. And I'm glad I did in that respect. I needed it to feel like the same kitchen - the new and the old together. But, again, it restricted the color palate of everything from tile to paint IMMENSELY! My 'dream' kitchen started fading away...
Another harsh reality is that the quality of my work is not quite praiseworthy. Shocking, huh? I joke a lot about being lazy, but truth be told, I've put A LOT of hours into this project and honestly do try to be as correct and as accurate as I can be with everything from using the correct products to making exact measurements, etc. Everyone at Home Depot knows me. By name. I ask a lot of questions. In fact, the lumber guy has put a limit to my questions per visit. I think he's kidding, but I'd hate to cross him. Anyway, point being, I feel like I do my due diligence and yet this is all much harder than it looks. Anyone could make it happen, but only an elite can do it well. So my hard hat is off to all you professionals out there. If you can afford it, use them. They'll make your dinners much more enjoyable because in between bites you won't be glaring at sloppy mistakes and poor cuts.
And finally, I'm not as crazy about the open shelving as I thought I'd be. I'm sure a little or a lot of rearranging and editing what's on them wouldn't hurt. But I've actually already done a lot of research as to whether I ought to altogether replace the open shelves with these -

But I'd without a doubt have to rip down all that tile which would break my heart and probably my back. Plus my marriage is just too important to me, and it may not survive if I tell John my plan. So for now, this edging-on-cluttered, not-quite-finished kitchen addition that I'm not quite totally thrilled about is DONE-ZO.

Except that I'm thinking I soon might paint the shelves Dove White, too. Poor family of mine...